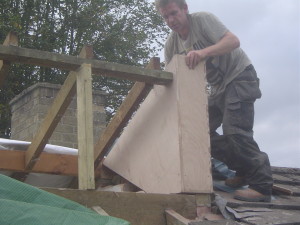
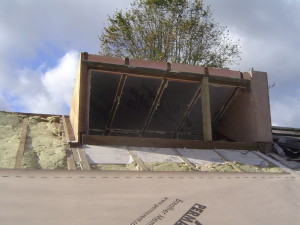
Having removed the cold brick ‘cheek’ from the dormer, Robbie made up a plywood box which he filled with Rockwool insulation. This would remove the cold bridge that the brick cheek would have caused.
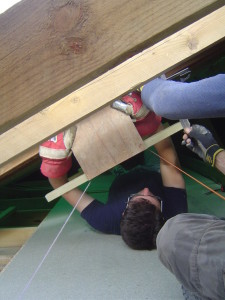
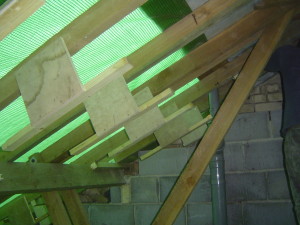
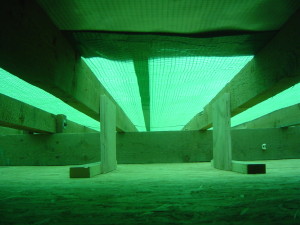
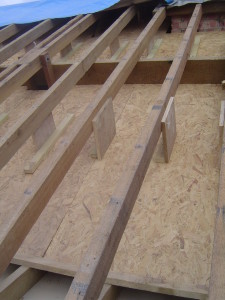
Charlie Luxton suggested we insulate in the pitch of the roof so that we maximise the available space in the loft. The roof has large purlins which presented a logical bottom edge for the insulation. This would achieve a depth of 280mm. To support the insulation we decided to fit a layer of Oriented Strand Board (OSB) beneath the roof timbers. This was supported by a series of Larsen Trusses.
Joel and Keith fitting the Larsen Truss in the loft.
With the Larsen Trusses in place we were ready to fit the OSB beneath.
With the OSB fitted we needed some insulation.
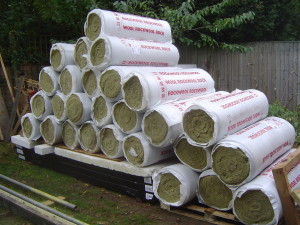
Just a few rolls of Rockwool Rafter Roll …
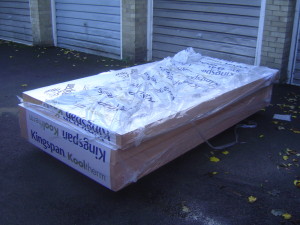
Plus some Kingspan Kooltherm K7 for use above the stairwell.
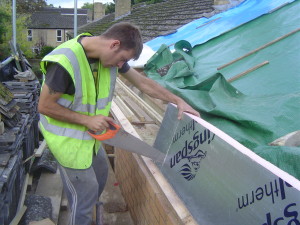
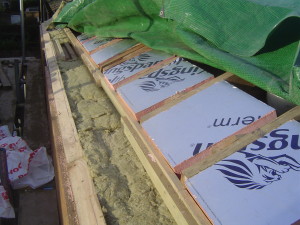
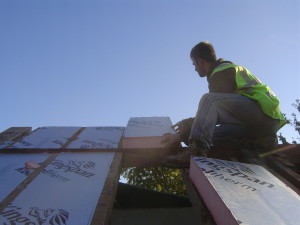
We also decided to use the 100mm Kooltherm high performance insulation on the pinch point at the eaves. Duane, our new site chippy, cut the insulation to fit tightly between the rafters …
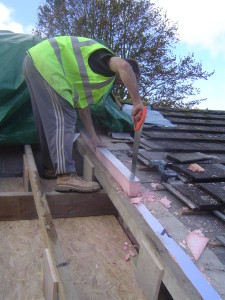
… and to cap the original cavity wall on the gable end …
… and at the party wall …
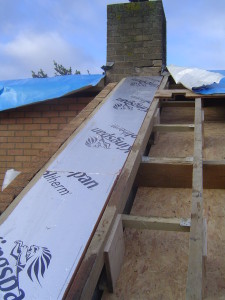
… and at the junction of the roof and the dormer window …
… and finally above the stairwell.
Foam was then applied to the gaps.
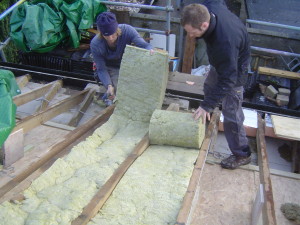
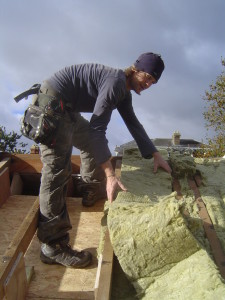
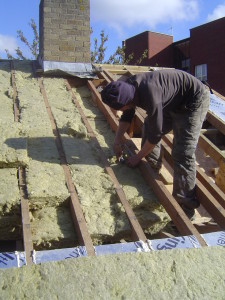
Keith and Dayle starting to lay out the Rockwool Rafter Roll.
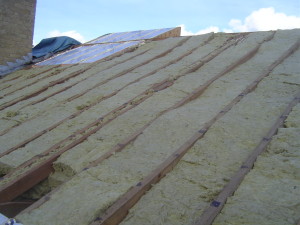
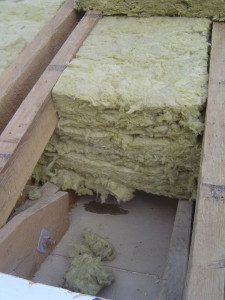
It was quite fiddly cutting the three layers of 100mm to fit around the timbers without any air pockets.
We were also concerned that there may not be enough of a gap for the breather membrane to sag between the rafters. This might result in water being trapped against the battens. We checked with the manufacturer of the membrane and they weren’t worried.
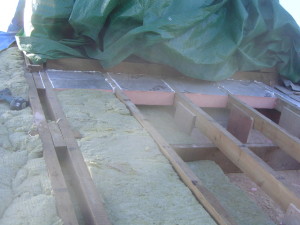
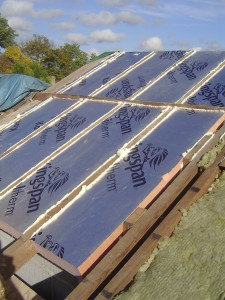
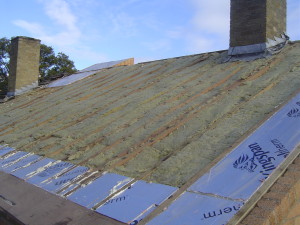
The fully insulated roof and dormer ready for the roofing membrane and tiles to go back on.
